Proxmox is a free and open source alternative to hypervisors like HyperV and VMWare ESXi.
Hardware requirements
Because Proxmox is based on Linux, it’s fairly light on resource requirements. You can run this on a micro desktop, tower PC, or an actual server.
The first bottleneck you’re likely to run into will be RAM. Fortunately, RAM is fairly cheap, so this is an easy upgrade.
Installation
Proxmox quick start page Proxmox installation documentation
Warning
This process will erase everything on the hard drive you install Proxmox onto. Make sure there is only one drive installed in the PC/server you’re using and that you’re ready to erase everything on it.
First, you’ll need a bootable USB to install Proxmox from. I recommend using Ventoy.
Before you begin, plug in a flash drive you’re willing to completely erase. I recommend unplugging any other flash drives or memory cards to make sure you don’t accidentally erase them.
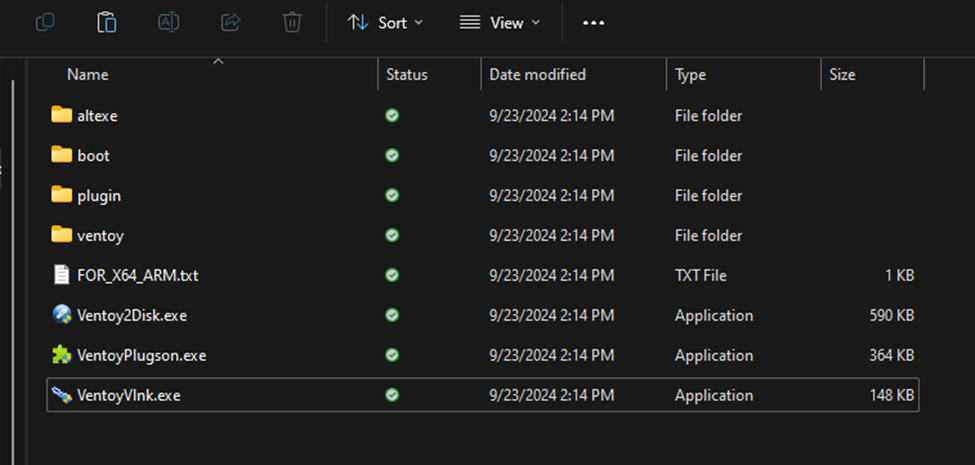
Go to https://www.ventoy.net/en/download.html and download ventoy-numbershere-windows.zip. Extract it to your Desktop folder.
Once that’s done, open the folder and run ventoy2disk.exe:
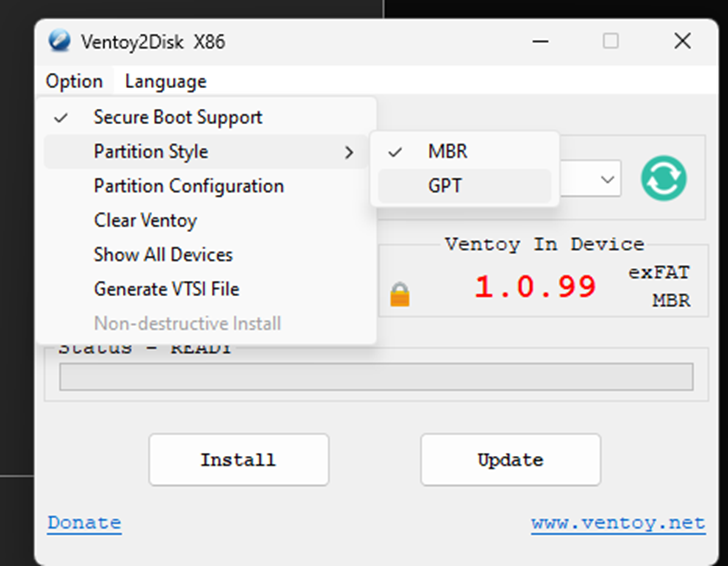
 You should see a window similar to this:
 Choose your flash drive in the dropdown menu. You should see the flash drive you’re using show up as something like this:


In the upper left corner, click Option > Partition Style and select GPT.
Make sure you have a flash drive selected and not a hard drive or any other storage device. Once you’re sure you have the right flash drive selected, click Install and click through the warnings.
After the install is done, close ventoy2disk. You should see a new USB device in File Explorer named Ventoy. Open it and make a folder named ISOs. Any ISOs you copy to this folder will show up as a boot option once you boot from the Ventoy flash drive.
Open Proxmox quick start page in your browser. Click “Download ISO image”. On the next page, download the ISO at the top (at the time of writing, that’s Proxmox VE 8.3 ISO Installer). Save the ISO to the folder you created on the Ventoy flash drive.
Once that’s done, safely eject the flash drive in Windows and then plug it into the PC you’ll install Proxmox on. Make sure this PC is connected to your network while you’re installing Proxmox so it can get a valid IP address.
Boot from the flash drive, choose the Proxmox ISO, and wait for it to load.
Hit enter to choose the graphical install option. Agree to the EULA. On the next screen, Proxmox will ask you to choose a target hard drive. Since you only have one drive connected, leave it set to /dev/sda and continue. Change the time zone to Boise and continue. Set a password that you’ll remember and enter an email address. Leave the defaults set on the network screen and continue. Click Install.
After the install finishes, you’ll see a screen saying welcome to the Proxmox Virtual Environment. Enter the IP address here and open it on your classroom PC.
Click through the certificate warning in your browser. Log in with the username root and the password you set earlier. Ignore the warning about an invalid enterprise subscription. Congratulations, you now have a Proxmox virtualization server up a running!
Creating a VM
In the left pane, click Datacenter > pve > local (pve). In the middle pane, click ISO Images. Click Upload. In the file explorer window that opens, choose an ISO from your local computer. Upload it to the Proxmox server.
Click Create VM in the upper right corner. Enter a name and click Next.
Choose the ISO you uploaded. Change the drop-downs on the right to the OS you’re installing (for example Windows and 10/2016/2019). Click Next.
Leave the defaults on the next screen and click Next. Change the disk size if needed and click Next.
Change the CPU and memory settings if needed and click Next on both screens.
Leave the network settings at the defaults and click Next.
Check the “Start after created” box and click Finish.